
สำหรับ Microsoft WSL 2 ยังไม่สามารถทำงานบนกราฟฟิก GUI โดยตรงได้ ต้องเข้าทางอ้อมผ่านโปรแกรม VcXsrv หรือ Remote Desktop คราวที่แล้วพูดถึงการติดตั้ง Xfce4 เชื่อมต่อผ่านโปรแกรม VcXsrv ไปแล้ว คราวนี้เราจะมาดูวิธี การติดตั้ง Xfce4 โดยเชื่อมต่อผ่านโปรแกรม Remote Desktop Connection กันบ้าง
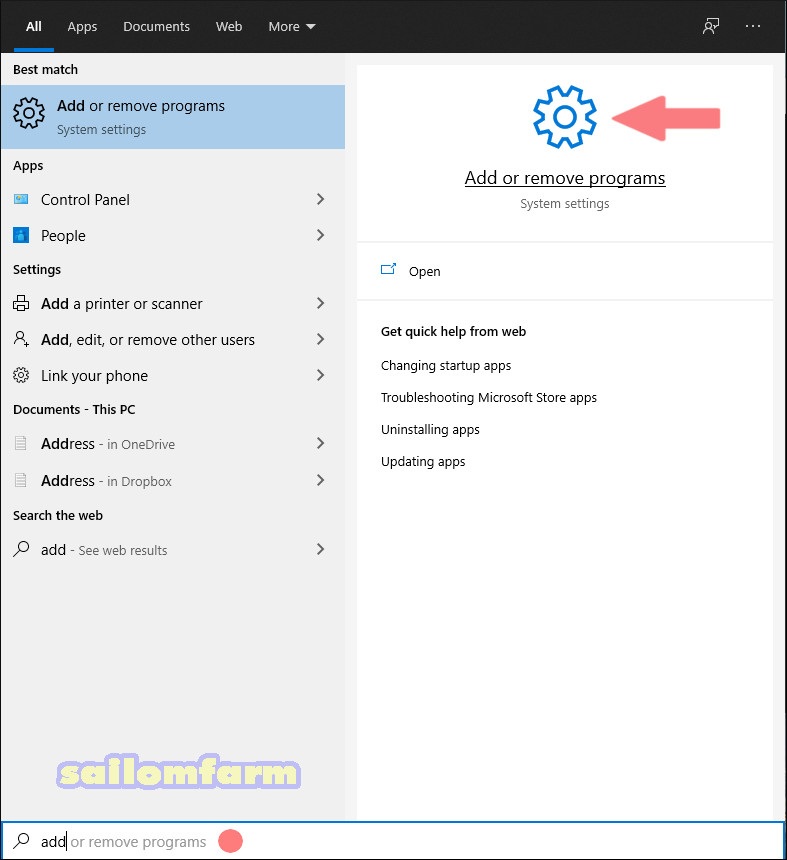
เนื่องจากเคยติดตั้งลีนุกซ์ไว้เพื่อไม่ให้สบสน ผมจะถอนการติดตั้งลีนุกซ์ตัวเก่าออกดังนี้ เปิด add or remove program
เลือก Uninstall
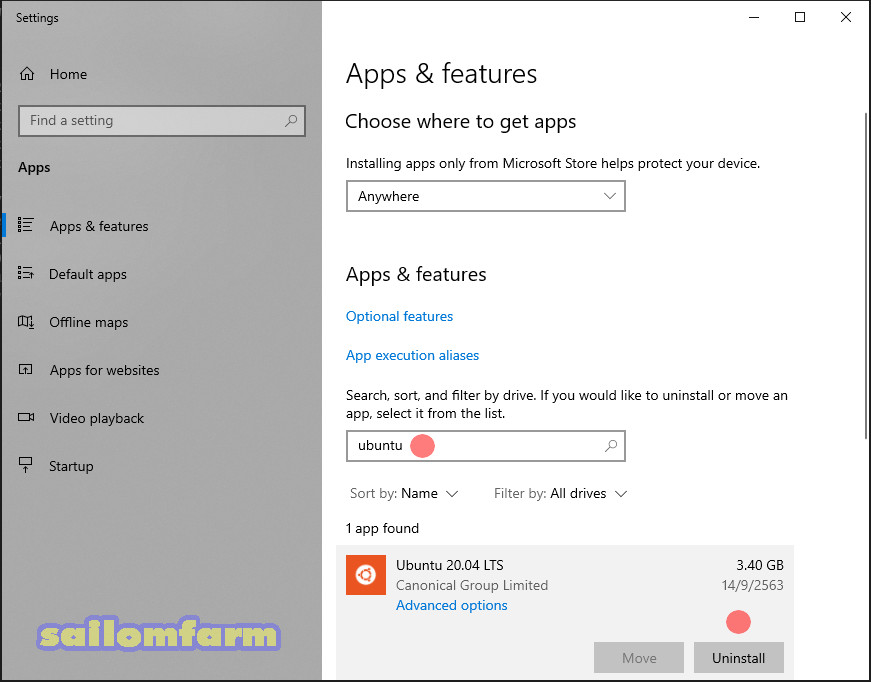
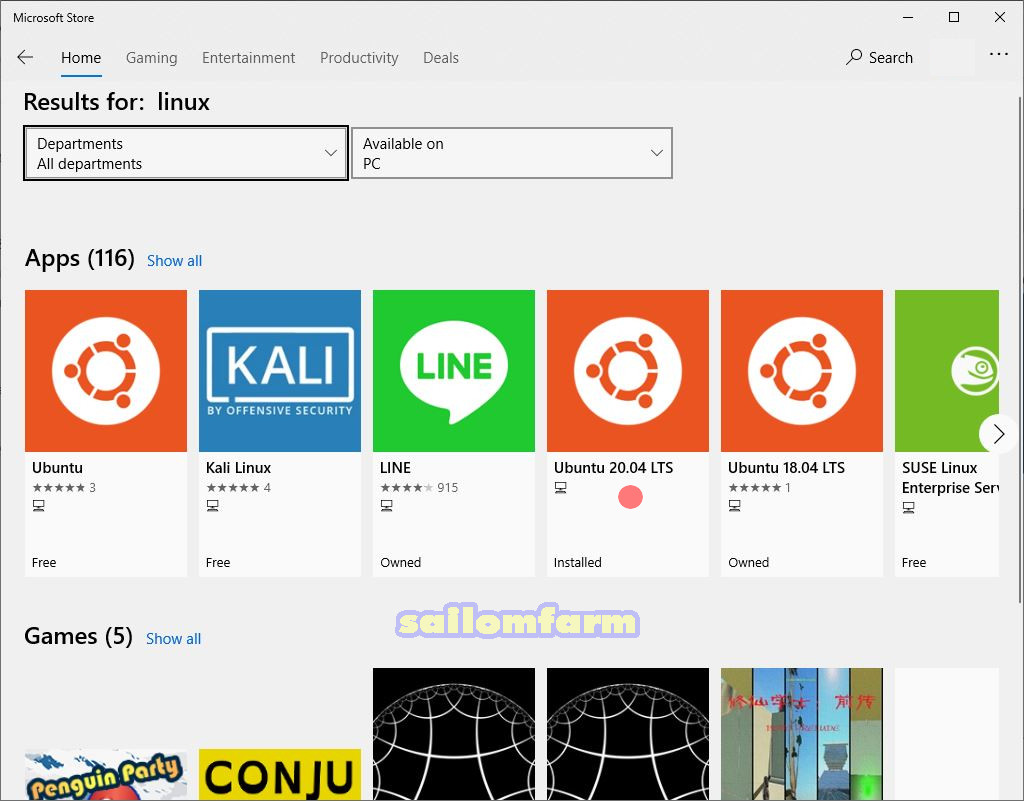
จากนั้นรีสตาร์ทเครื่องพีซีใหม่ เรียบร้อยแล้วเปิด Microsoft Store เลือกติดตั้ง Ubuntu 20.04
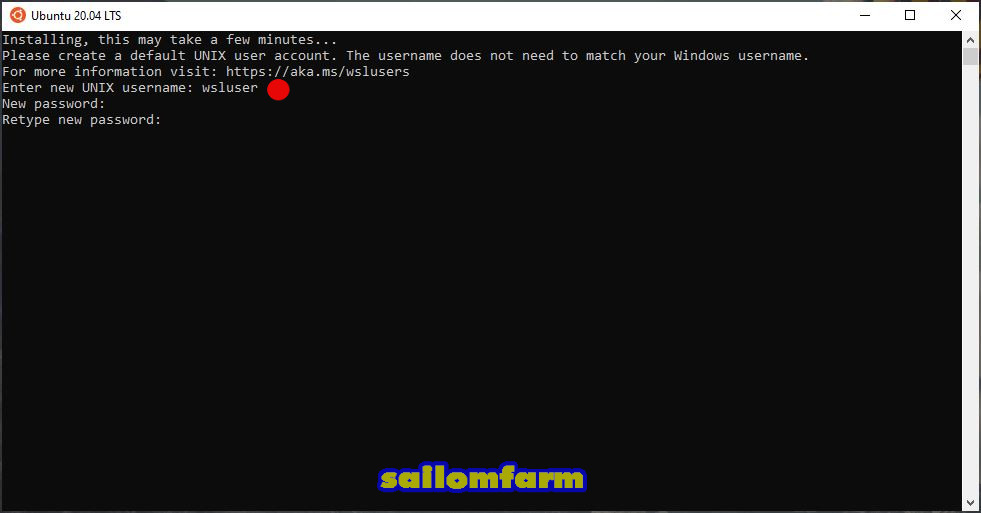
เปิดลีนุกซ์ Ubuntu 20.04 ขึ้นมา พร้อมกับตั้งค่า Username และ Password
เสร็จแล้วป้อนคำสั่งดังนี้
sudo -i <enter password>
passwd <new password root>
apt update && apt -y full-upgrade
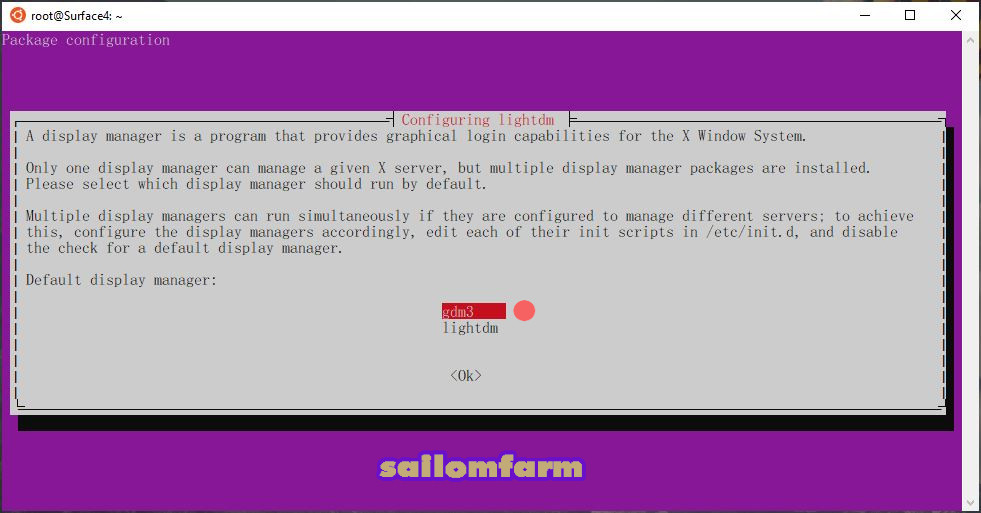
apt install -y xfce4 xfce4-goodiesโดยเลือกโหมดกราฟฟิกเป็น gdm3
ติดตั้ง Xrdp Server
apt install -y xrdp
cp /etc/xrdp/xrdp.ini /etc/xrdp/xrdp.ini-bak
sed -i 's/3389/3390/g' /etc/xrdp/xrdp.ini
sed -i 's/max_bpp=32/#max_bpp=32\nmax_bpp=128/g' /etc/xrdp/xrdp.ini
sed -i 's/xserverbpp=24/#xserverbpp=24\nxserverbpp=128/g' /etc/xrdp/xrdp.ini
จากนั้น Shutdown ลีนุกซ์ โดยไปที่โปรแกรม Windows Terminal สั่งดังนี้
PS : wsl –shutdown

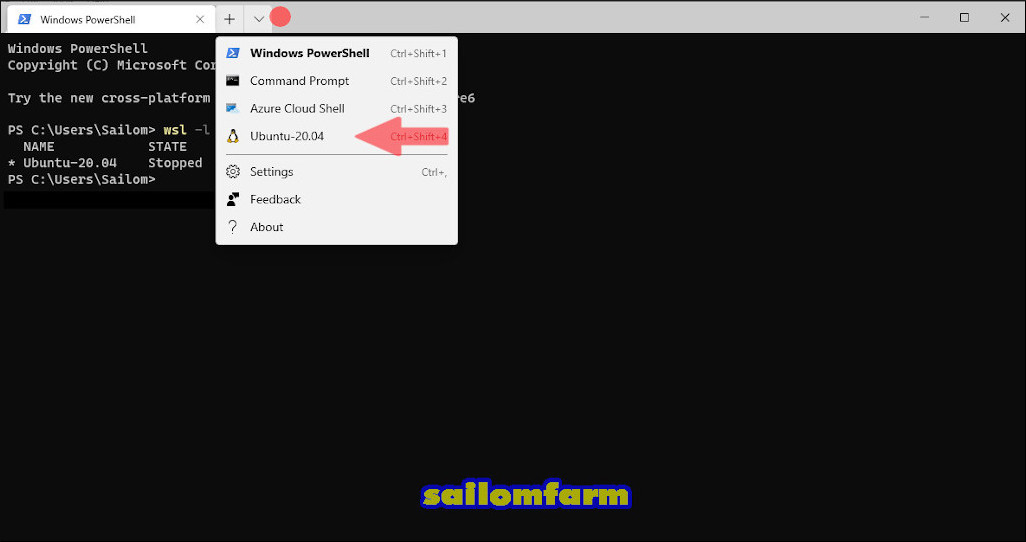
เรียบร้อยแล้วเปิด Ubuntu 20.04 ขึ้นมาอีกครั้ง
สตาร์ท Xrdp Server
cd ~
sudo echo xfce4-session > ~/.xsession
sudo systemctl enable dbus
sudo service dbus start
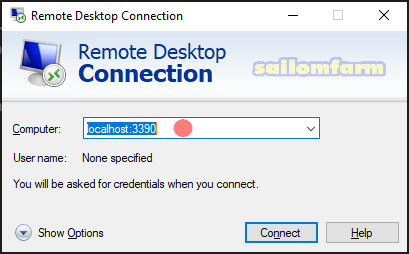
sudo service xrdp startหลังจากนั้นเปิดโปรแกรม Remote Desktop Connection บน Windows 10 ขึ้นมา ใส่ชื่อ Computer เป็น localhost:3390
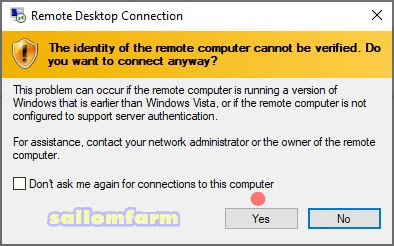
กด Yes
ป้อน Username และ Password ที่เราตั้งไว้ครั้งแรก
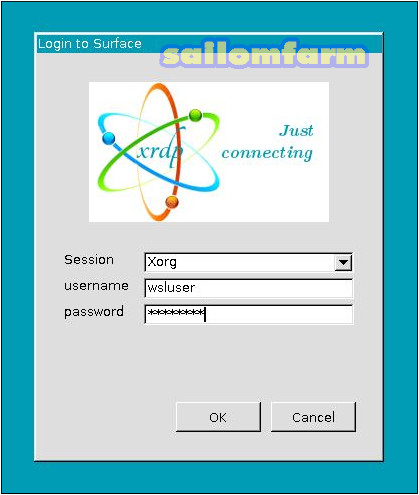
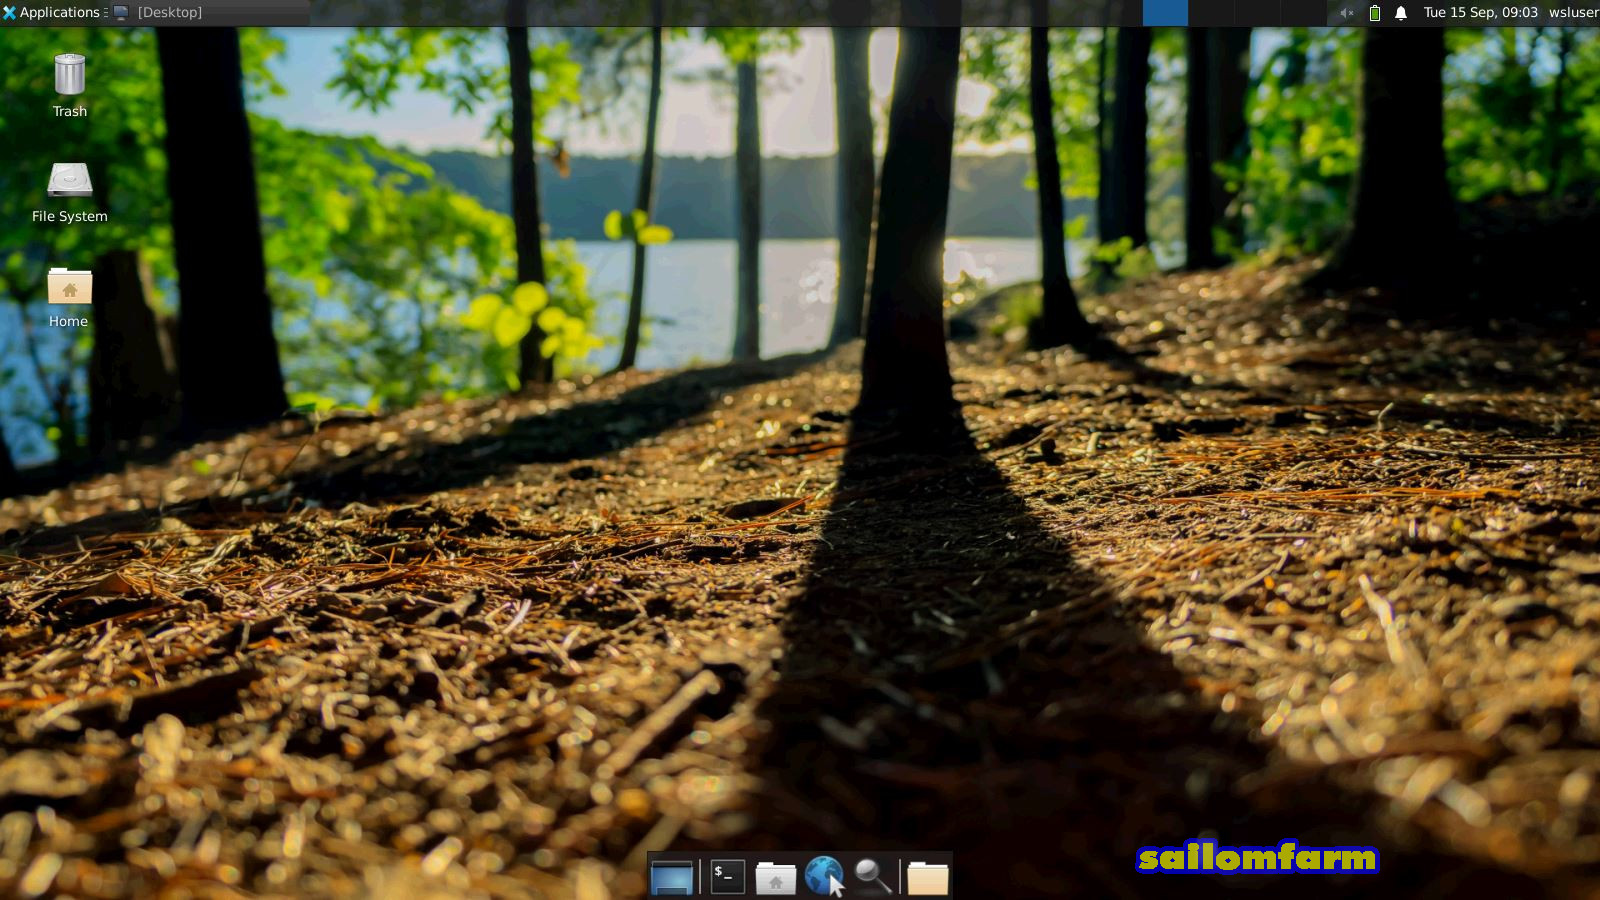
จากนั้นก็จะสามารถเข้าสู่ Xfce4 Desktop ได้แล้ว
สุดท้ายสร้างไฟล์ shell script เพื่อสตาร์ท Xrdp Server ดังนี้
$ nano run-xrdp.sh
#!/bin/bash

sudo service dbus start
sudo service xrdp start
ทุกครั้งหลังจากสตาร์ท Linux WSL ขึ้นมา เมื่อต้องการรีโมทเข้าสู่ Xfce4 Desktop ก็รันคำสั่งนี้
$ ./run-xrdp.sh